September 6, 2011

art secret 9 - make a color menu

Color Menu For Your Painting!
Why practice on your final painting? The easiest thing to do that gives you the most control is to work up  a menu of the colors that you are going to use in your painting. Look at the shades of yellow and green watercolor in the sample menu above. You can do this with any art medium.

This is a work up of the colors you see in the color menu above. The artist has also added complementary colors into the study. Using a color menu and knowing what colors to use makes your painting shine. Try it and share with us!






June 29, 2011

art secret 8 - stretching watercolor paper

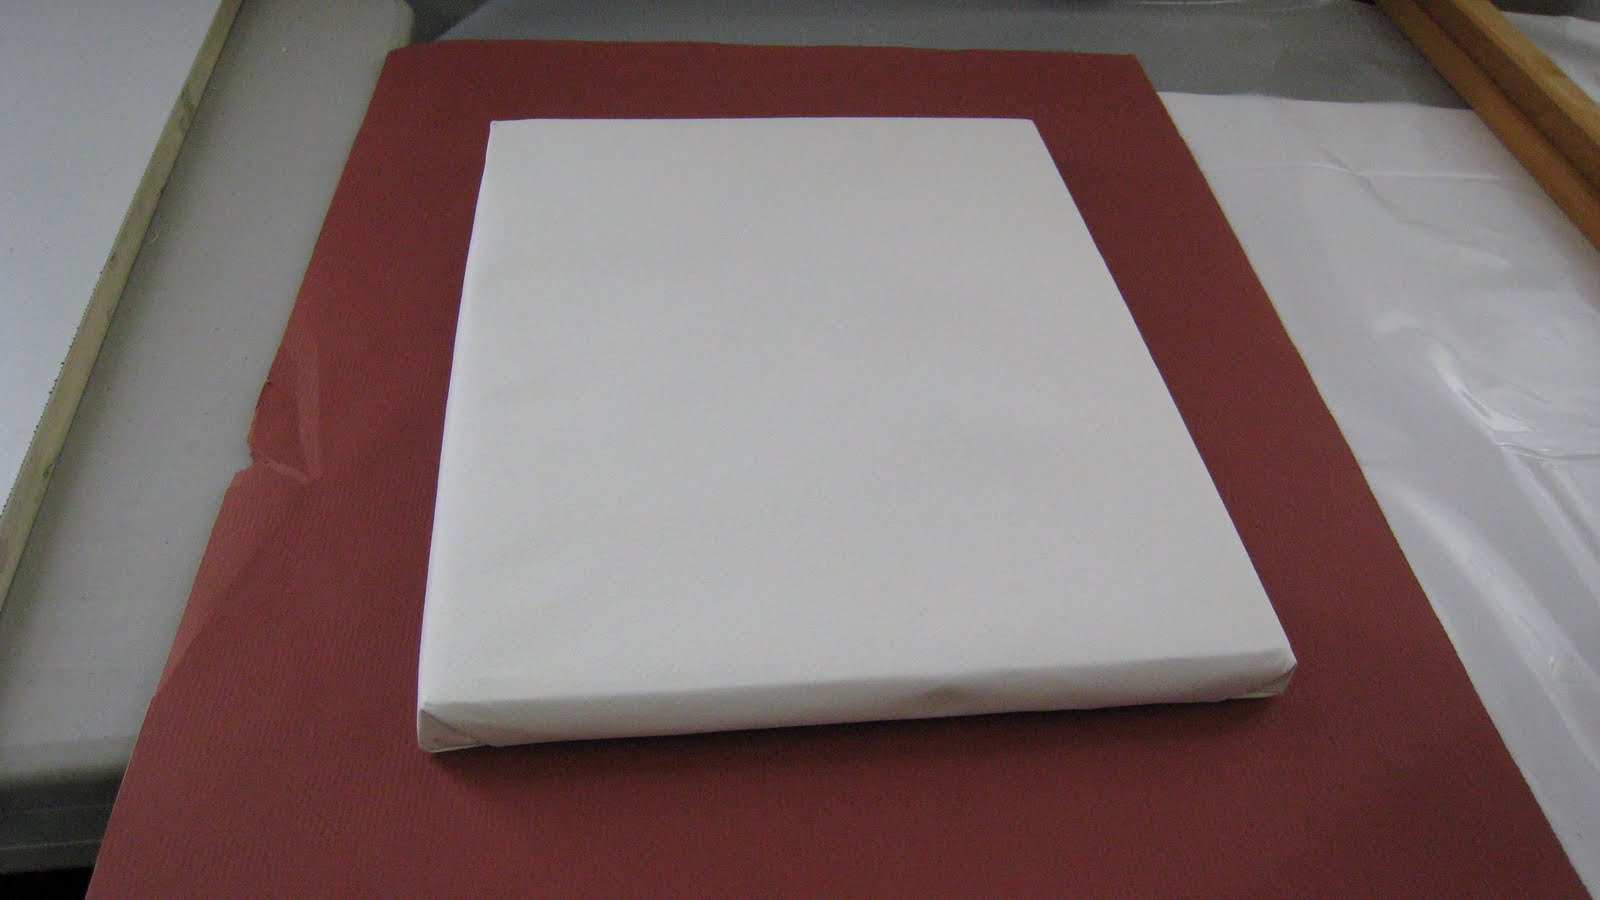
These photos are a wonderful example of how to stretch watercolor paper over a wooden frame or stretcher bars. To do this you will need a piece of 140 lb. watercolor paper, a wooden frame to stretch it over (make sure that the frame is smaller than the paper!), a spay bottle with water and a staple gun and 1,2,3 you have watercolor paper stretched over a frame ready for painting.

1. Take a piece of watercolor paper and dampen one side by spraying it with water. It should be damp not wet.


2. Place the frame on top of the damp paper and start stapling by putting a staple in the center of each stretcher bar. Pull the paper snug as you turn the paper around to staple it. Staple on either side of the center staple all around and then fold the corners as neatly as you can and staple away!


3. Voila! You now have a great surface to paint on. As the watercolor paper dries it will flatten and be tight as a drum when it dries and although it will loosen up each time you paint, it will continue to dry flat.


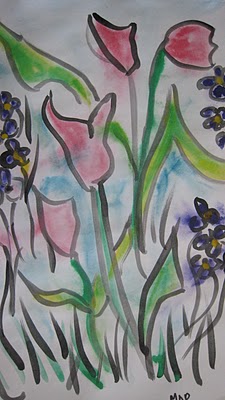
Here is a painting done by Laura on stretched watercolor paper.


April 29, 2011

art secret 7 - painting pussywillows

These photos are a wonderful example of the elegance of the branches...

study how they curve and dance through the air and


look at all the different colors in the stems, buds and flowers.


Do you want to sketch out your drawing or just start painting? I used burnt sienna, sap green, dioxine violet and burnt umber in my stems and paint wet on dry.


Either way start with the branches and get your light and dark areas painted in.


Now you are ready to add the flowers. I always suggest that you add the jackets to the branch first and then paint in the flowers. And here is the Art Secret! Before you paint, wet the area where you want to add a flower starting near the stem and then add a drop of-you guessed it-Rose Dore and let the water do the work for you. While it's wet add your choice of another color to the flower and let the water pull the color over the rose dore and mix. The next Art Secret for the flower is to make sure that the color does not go to the edge, that way you  create a light and fluffy look around the flower. Now that you know, go have fun.


April 6, 2011

art secret 6 - Raoul Dufy

Raoul Dufy (1877-1953) was a French Fauvist painter who explored joy and optimism in his very colorful work. 
For more about him click here...  Raoul Dufy

Below is a Raoul Dufy inspired project we did while 
working from an unusual orchid:
This orchid displays a very rare blue color.


Step One: first we did a very loose sketch using dark, watered down acrylic. 
                                                          

Step  two: After the acrylic was dry we added very loose, watery color with watercolor. You can add acrylic, too.

These are two paintings done in this style.
Doing studies in this manner is GREAT for getting the creative juices flowing. It's fun and fast.


December 14, 2010

art secret 5 - easy pine branches with watercolor

If you layer up three different shade of green starting with the lightest value...


you will end up with a very nice feathery, full pine branch. * Art secret...holding your brush perpendicular to the paper, use your wrist to flick the very tip of your brush to create the pine needles. Try it, it's fun.


Add a pine cone and some berries or...


if you want more atmosphere...
1. Start off with a background of a light blue wash and then add your branches and pine needles and maybe some snow. Personalize it the way that you want to.

October 21, 2010

art secret 4 - yellow and red don't make orange...

Well okay they do BUT...they also make light orange, yellow-orange, red-orange, violet-orange and you get the idea. Here's a sample.


And, of course, if you add the complementary color of blue to orange, you get a beautiful earthy color perfect for casting shadows. Depending on how much of each you add, you can adjust the  earthiness.

September 30, 2010

art secret 3 - red and blue don't make purple...

They don't?? Actually sometimes they do, but versions of those red and blue hues often make so much more like: maroon, blue-violet, red-violet, dark violet, light violet, pink, rose and so on. You can control your color and be a better painter if you mix your colors together to create a color instead of using a "tube" color. And if you add the complementary color you will create some beautiful muted, earth tones that a will defy description. Check out some of the color mixing that my students did. We had so much fun doing this.

acrylic

watercolor


acrylic